


Have you ever found yourself needing a personalized date table in Power BI but weren't sure how to go about creating one? Fear not! If you have some familiarity with Power BI's M language, then you're in the right place. Today, let's walk through the creation of a date table tailor-made for your data's time frame needs.
Step by Step: Crafting Your Custom Date Table
1. Starting With the Right Query
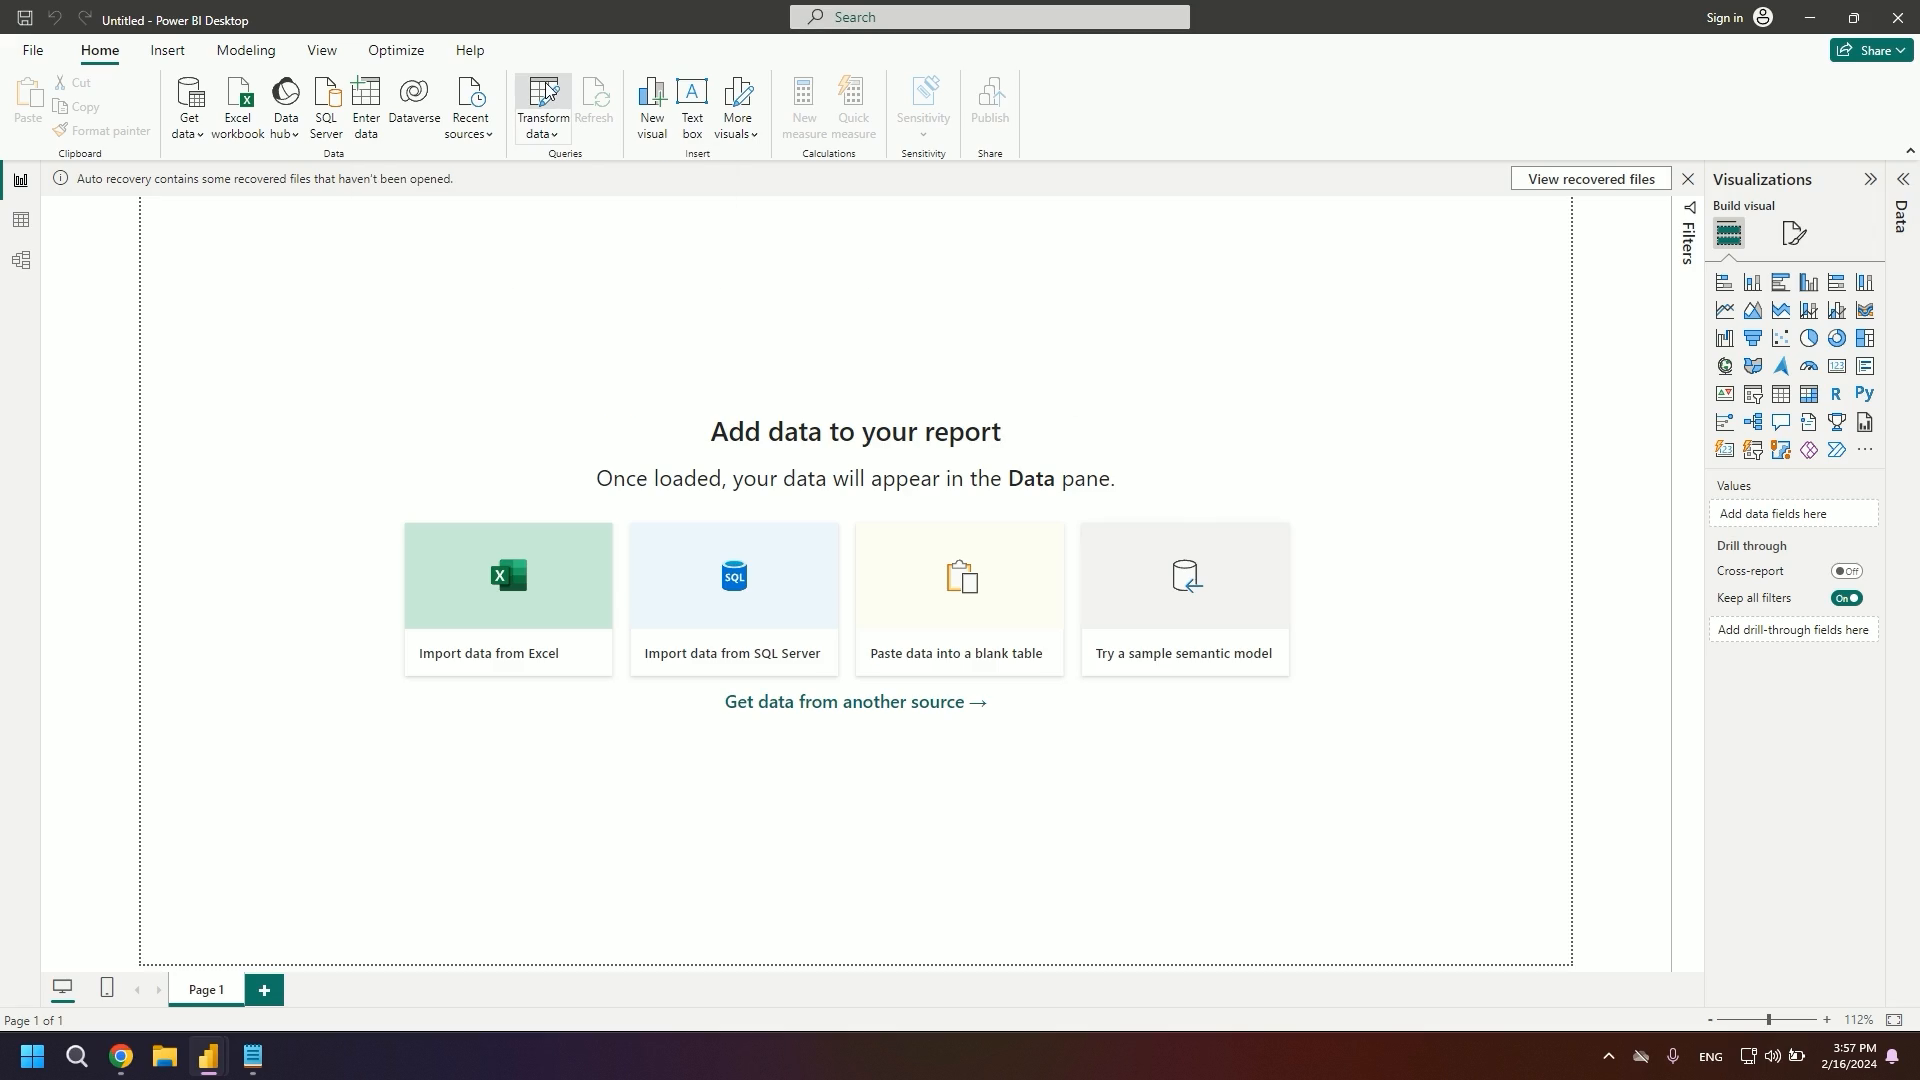
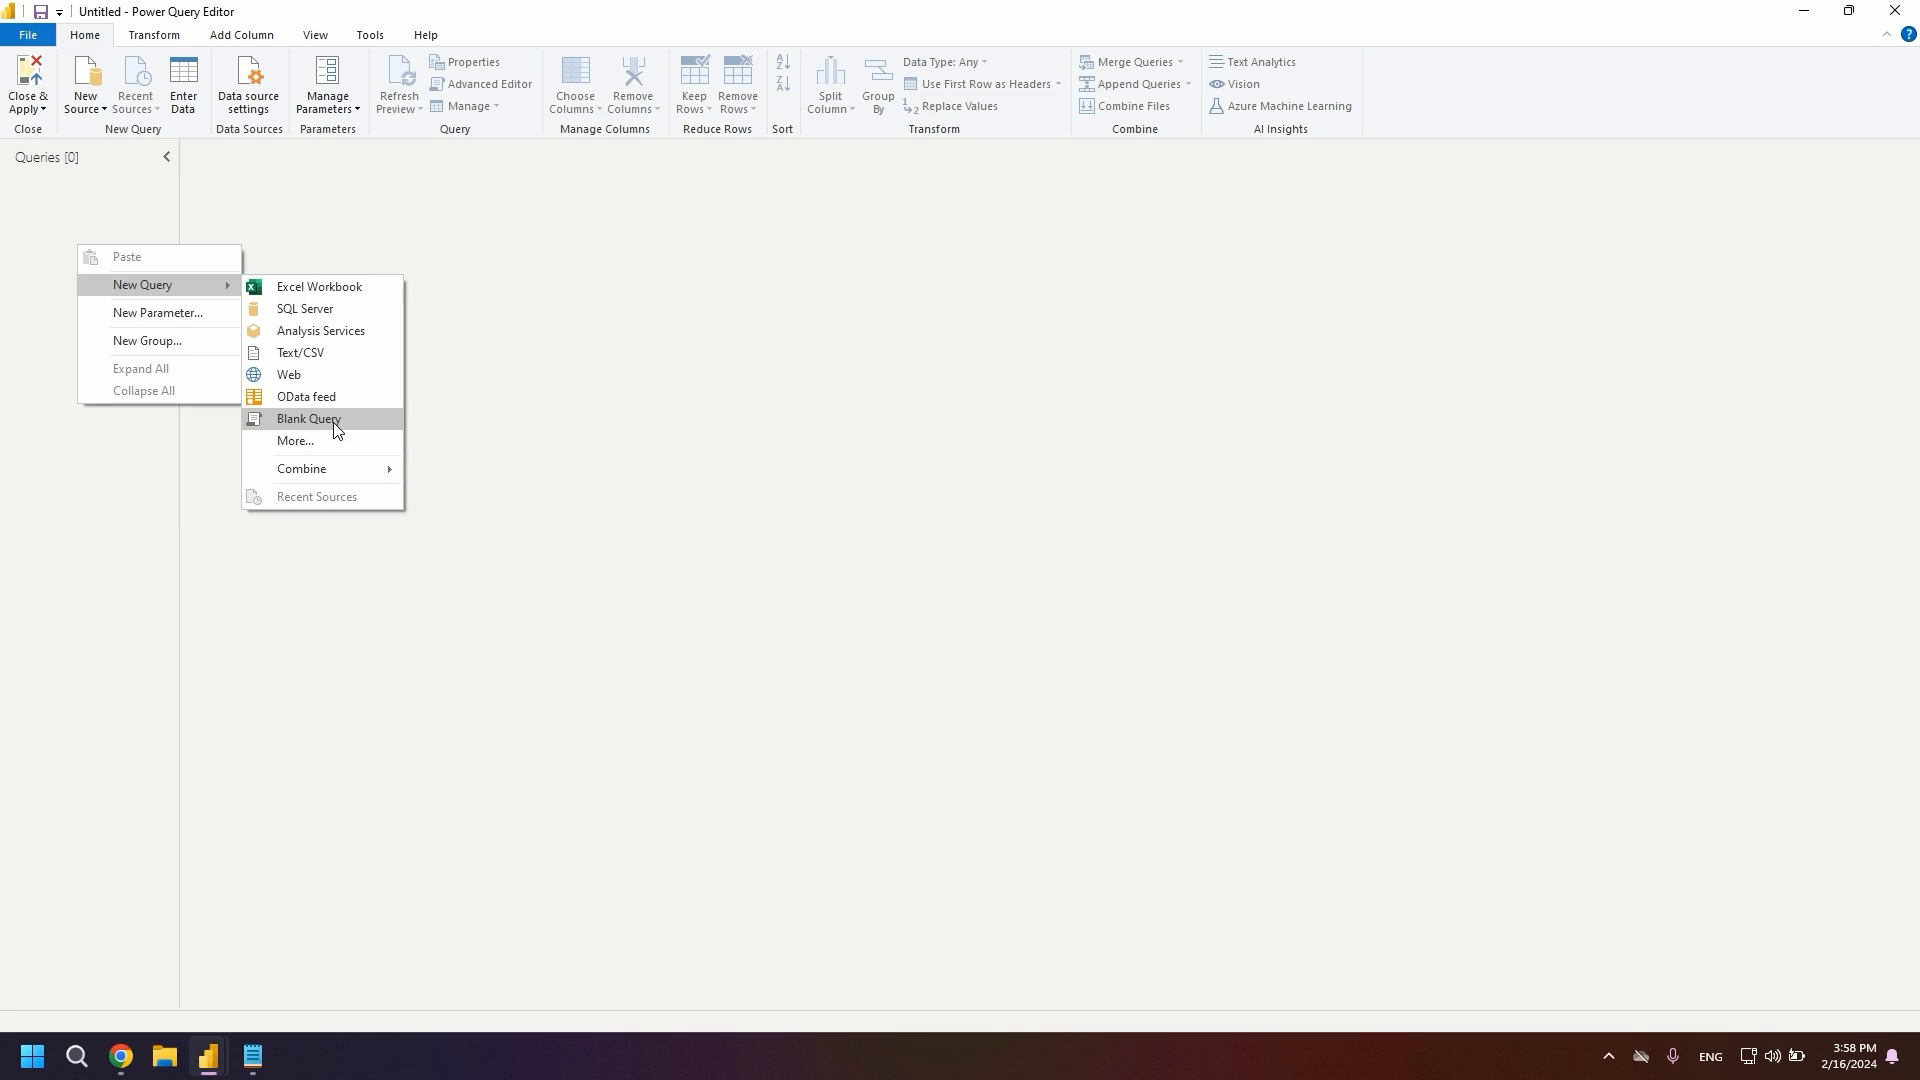
The journey to our custom date table starts by diving into the "Data Transformation" section. Once there, give the "Query" section a right-click, and from the dropdown, select "New Query," followed by "Blank Query."
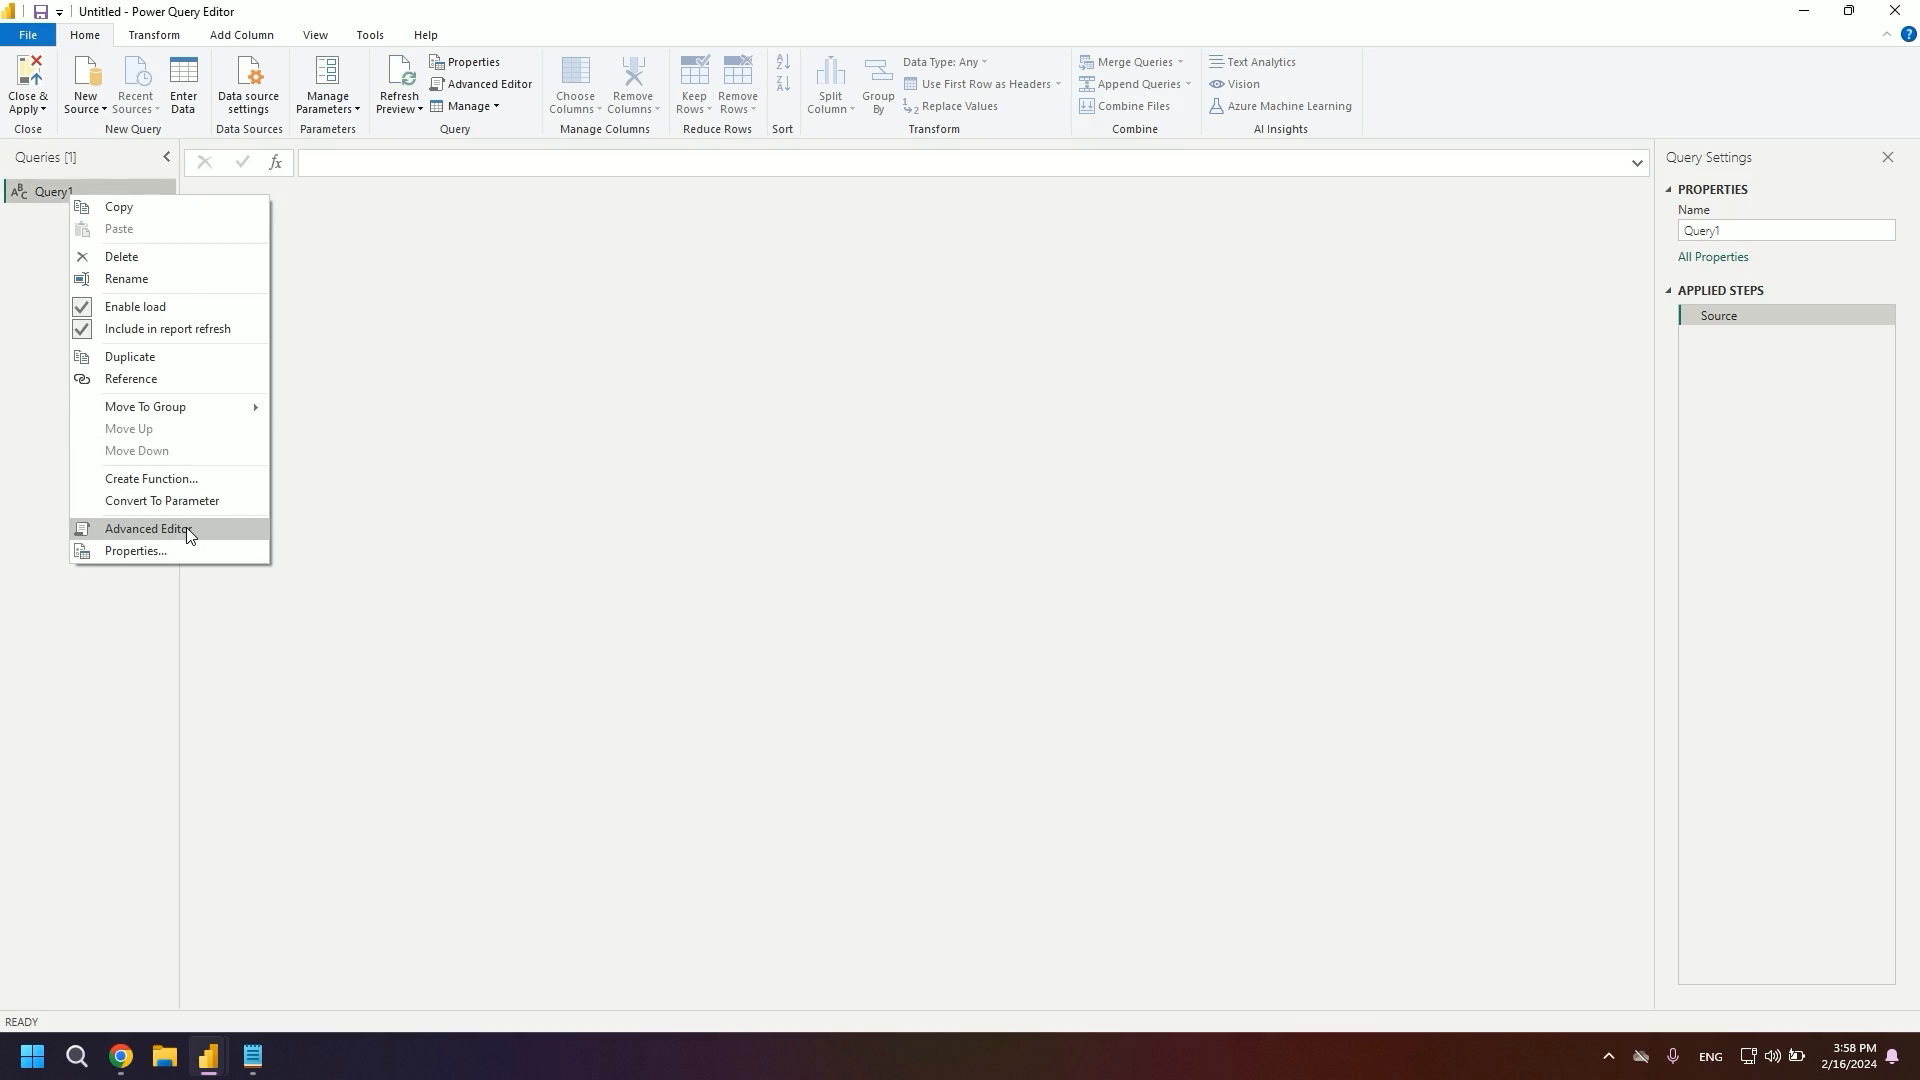
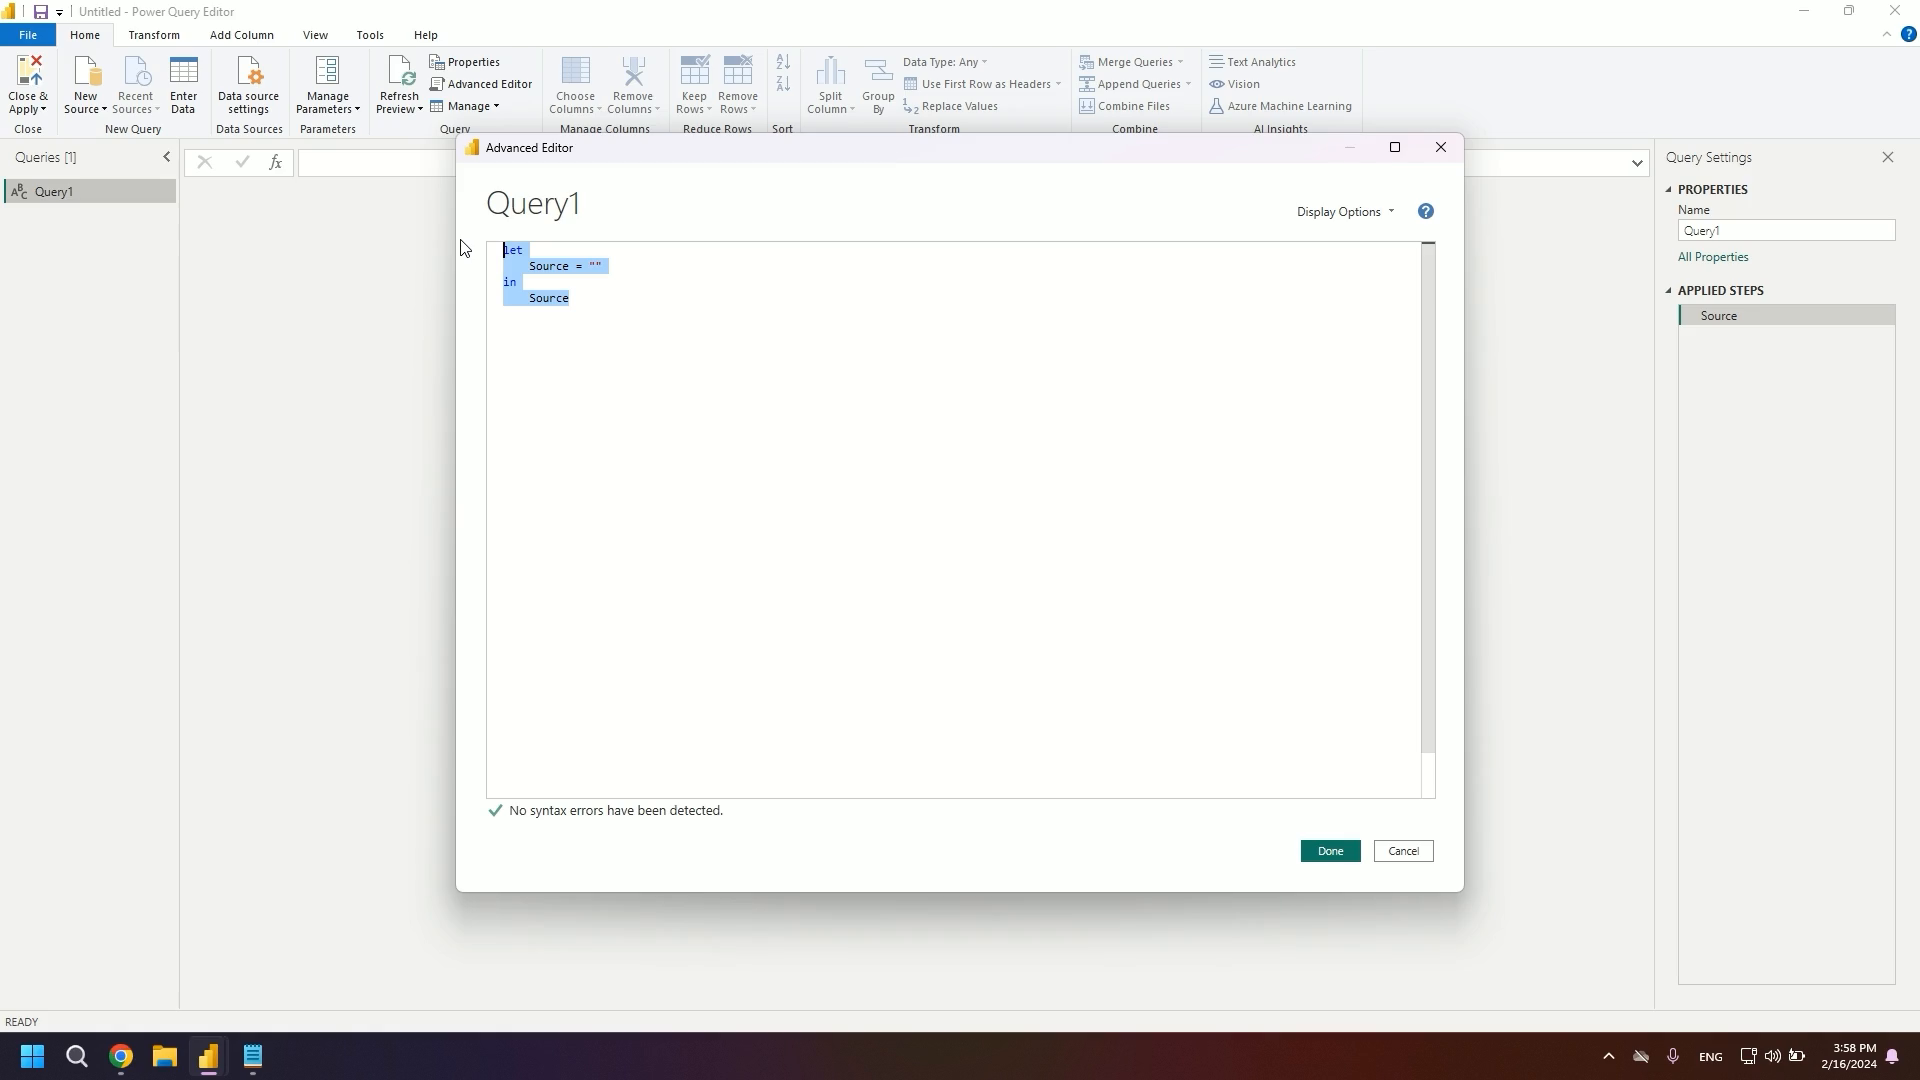
After your new query has manifested, you'll again exercise your right-click prowess and venture into the "Advanced Editor." This is where the real magic happens.
2. Unleashing the Power of M
Within this sanctum of code, go ahead and clear out any pre-existing text. We're starting from a blank canvas. The best kind when it comes to shaping your vision.
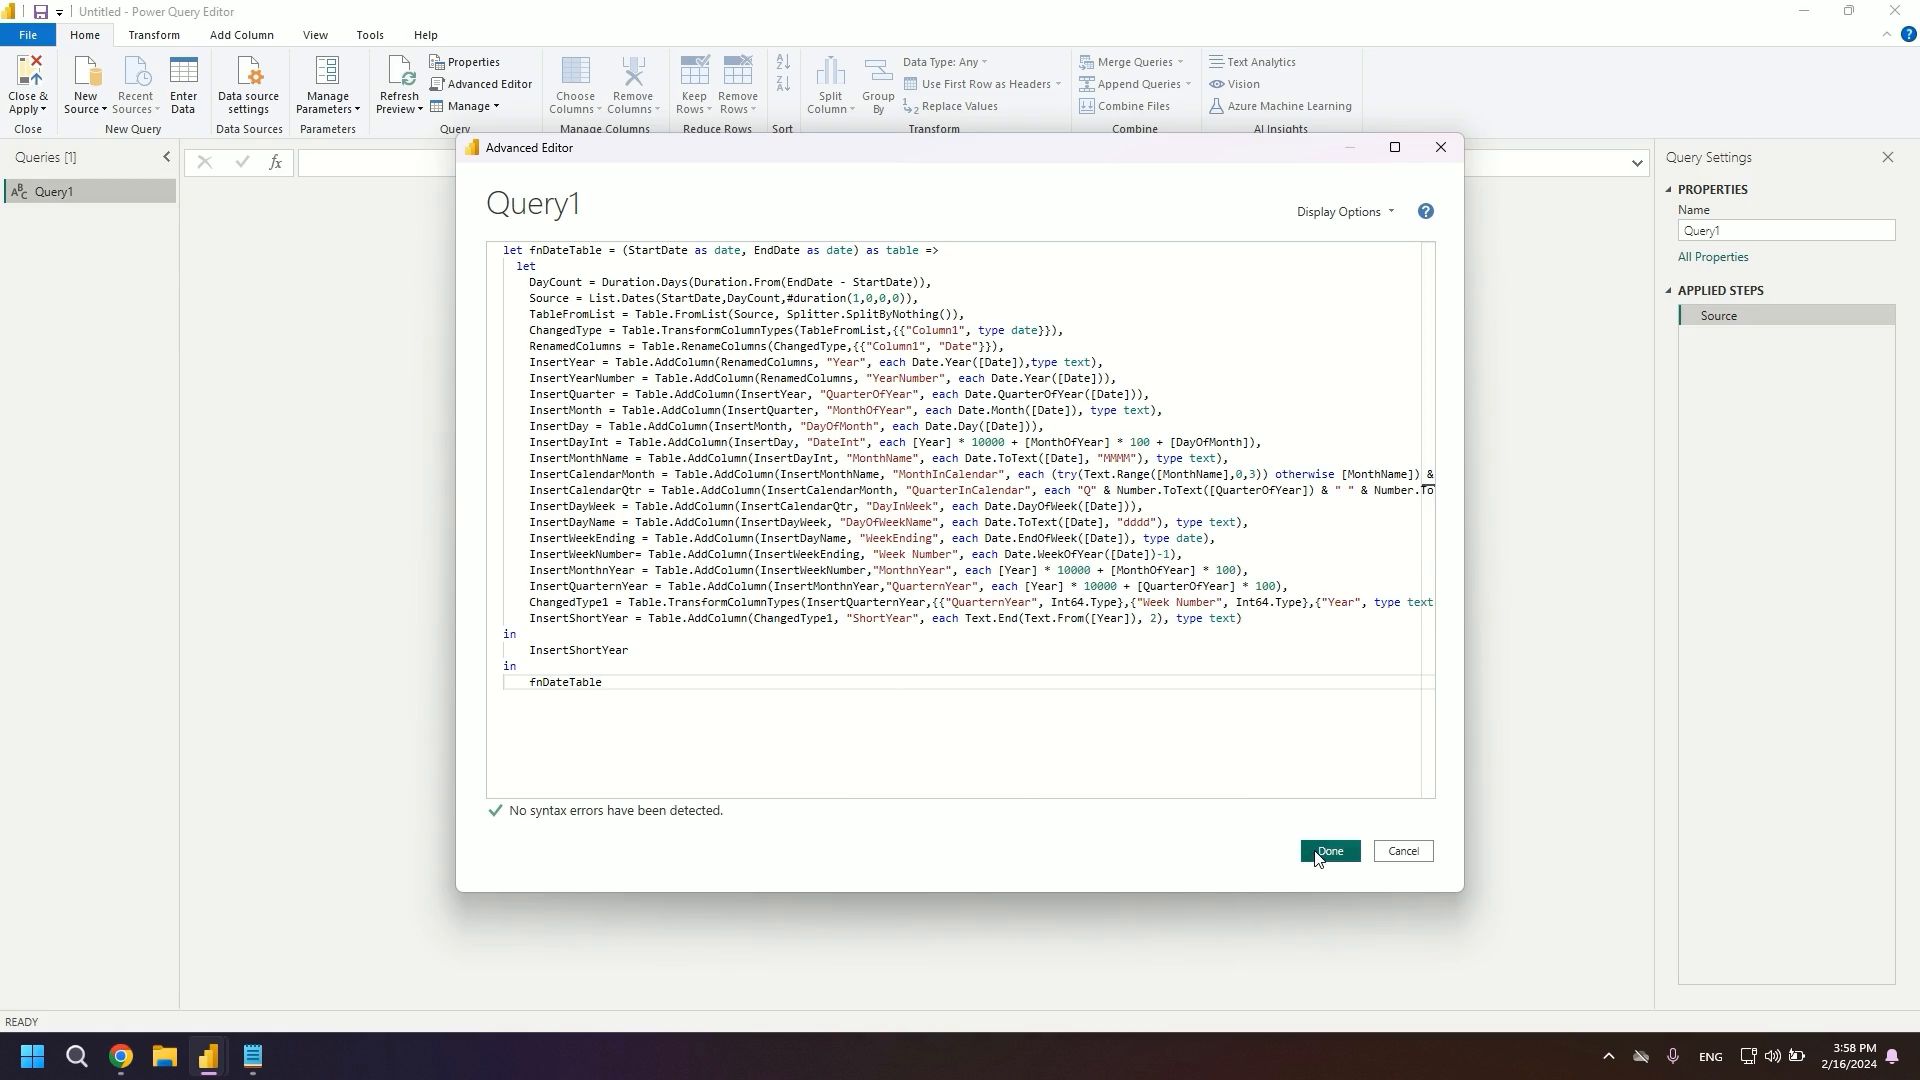
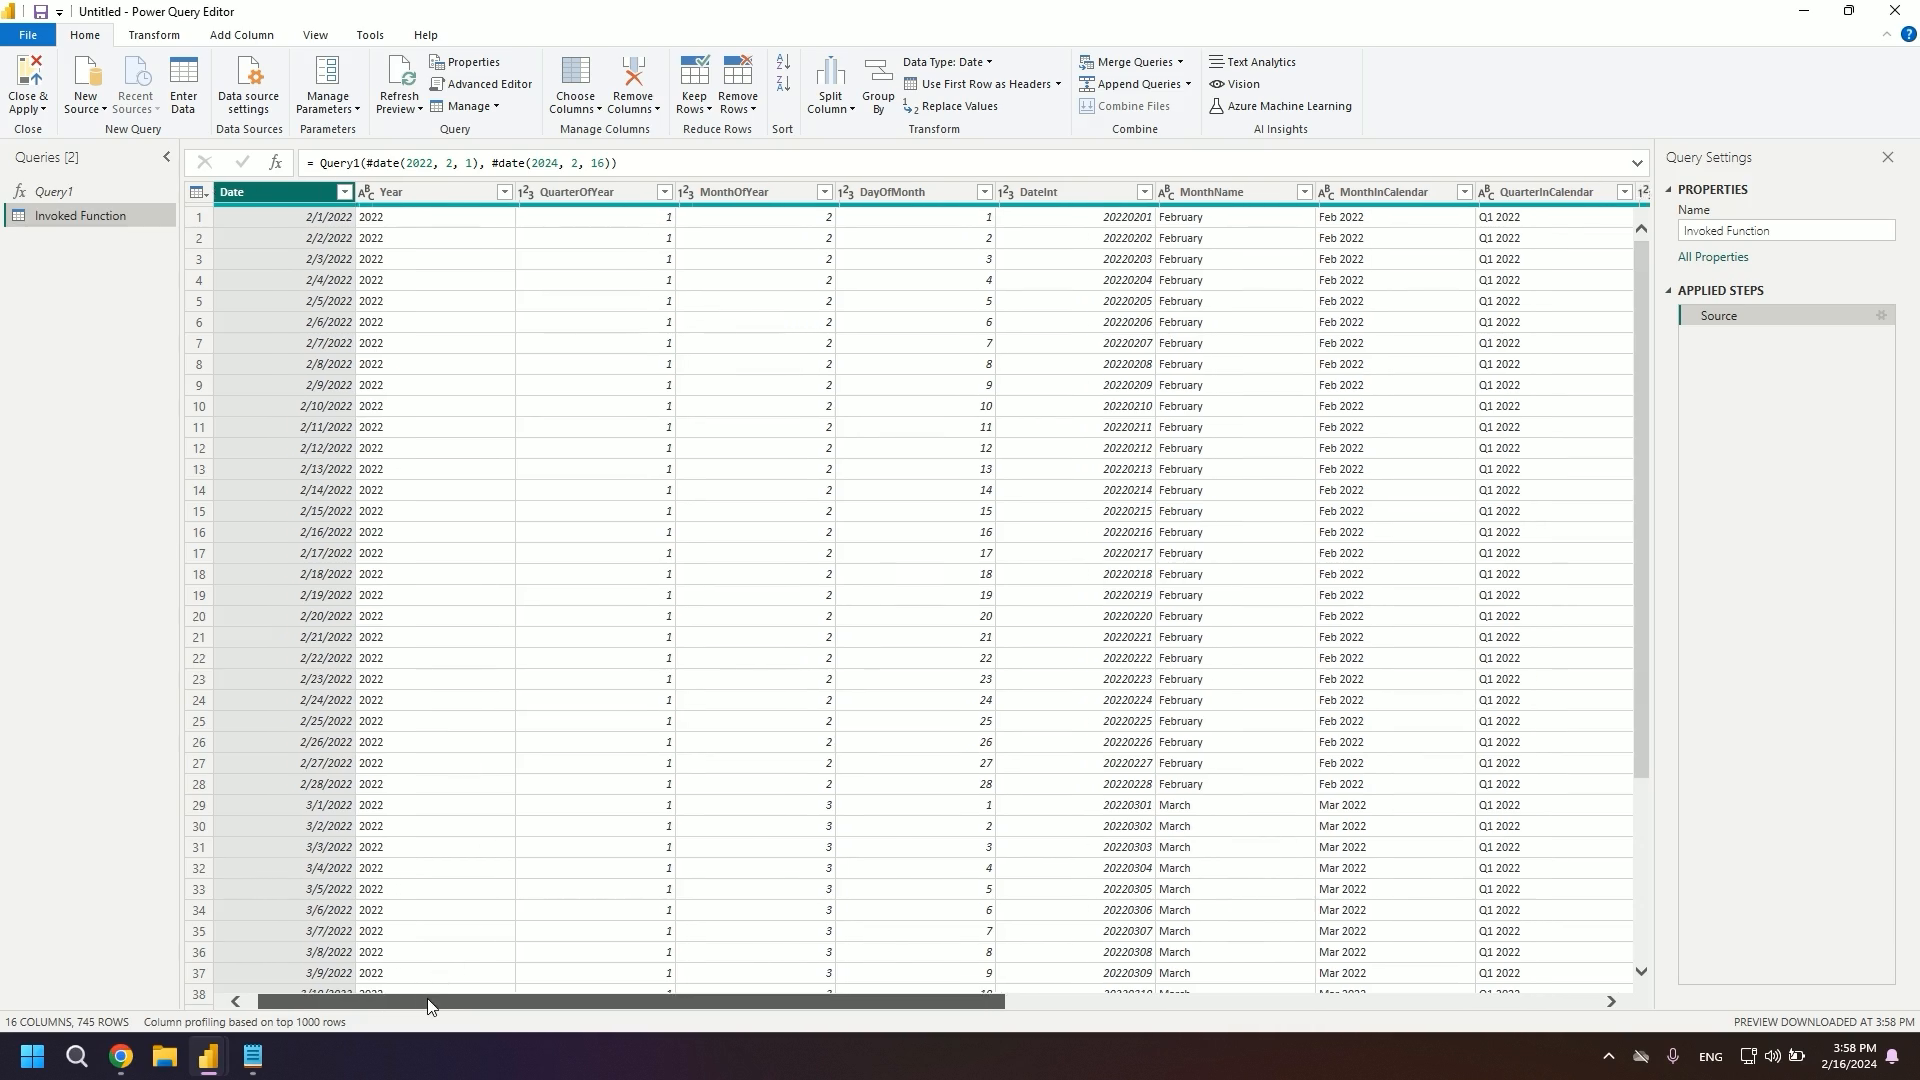
With the editor now cleaned, paste in your M language function, the incantation that'll bring your date table to life.
let fnDateTable = (StartDate as date, EndDate as date) as table => let DayCount = Duration.Days(Duration.From(EndDate - StartDate)), Source = List.Dates(StartDate,DayCount,#duration(1,0,0,0)), TableFromList = Table.FromList(Source, Splitter.SplitByNothing()), ChangedType = Table.TransformColumnTypes(TableFromList,{{"Column1", type date}}), RenamedColumns = Table.RenameColumns(ChangedType,{{"Column1", "Date"}}), InsertYear = Table.AddColumn(RenamedColumns, "Year", each Date.Year([Date]),type text), InsertYearNumber = Table.AddColumn(RenamedColumns, "YearNumber", each Date.Year([Date])), InsertQuarter = Table.AddColumn(InsertYear, "QuarterOfYear", each Date.QuarterOfYear([Date])), InsertMonth = Table.AddColumn(InsertQuarter, "MonthOfYear", each Date.Month([Date]), type text), InsertDay = Table.AddColumn(InsertMonth, "DayOfMonth", each Date.Day([Date])), InsertDayInt = Table.AddColumn(InsertDay, "DateInt", each [Year] * 10000 + [MonthOfYear] * 100 + [DayOfMonth]), InsertMonthName = Table.AddColumn(InsertDayInt, "MonthName", each Date.ToText([Date], "MMMM"), type text), InsertCalendarMonth = Table.AddColumn(InsertMonthName, "MonthInCalendar", each (try(Text.Range([MonthName],0,3)) otherwise [MonthName]) & " " & Number.ToText([Year])), InsertCalendarQtr = Table.AddColumn(InsertCalendarMonth, "QuarterInCalendar", each "Q" & Number.ToText([QuarterOfYear]) & " " & Number.ToText([Year])), InsertDayWeek = Table.AddColumn(InsertCalendarQtr, "DayInWeek", each Date.DayOfWeek([Date])), InsertDayName = Table.AddColumn(InsertDayWeek, "DayOfWeekName", each Date.ToText([Date], "dddd"), type text), InsertWeekEnding = Table.AddColumn(InsertDayName, "WeekEnding", each Date.EndOfWeek([Date]), type date), InsertWeekNumber= Table.AddColumn(InsertWeekEnding, "Week Number", each Date.WeekOfYear([Date])-1), InsertMonthnYear = Table.AddColumn(InsertWeekNumber,"MonthnYear", each [Year] * 10000 + [MonthOfYear] * 100), InsertQuarternYear = Table.AddColumn(InsertMonthnYear,"QuarternYear", each [Year] * 10000 + [QuarterOfYear] * 100), ChangedType1 = Table.TransformColumnTypes(InsertQuarternYear,{{"QuarternYear", Int64.Type},{"Week Number", Int64.Type},{"Year", type text},{"MonthnYear", Int64.Type}, {"DateInt", Int64.Type}, {"DayOfMonth", Int64.Type}, {"MonthOfYear", Int64.Type}, {"QuarterOfYear", Int64.Type}, {"MonthInCalendar", type text}, {"QuarterInCalendar", type text}, {"DayInWeek", Int64.Type}}), InsertShortYear = Table.AddColumn(ChangedType1, "ShortYear", each Text.End(Text.From([Year]), 2), type text) in InsertShortYear in fnDateTable
Once you've clicked "Done" to seal in your function, it's time to conjure the borders of your table's temporal realm.
To make sure the essence of these instructions is crystal clear:
"Navigate to the Advanced Editor and with a clean slate, inject your M language function. This is the secret sauce to your custom date table."
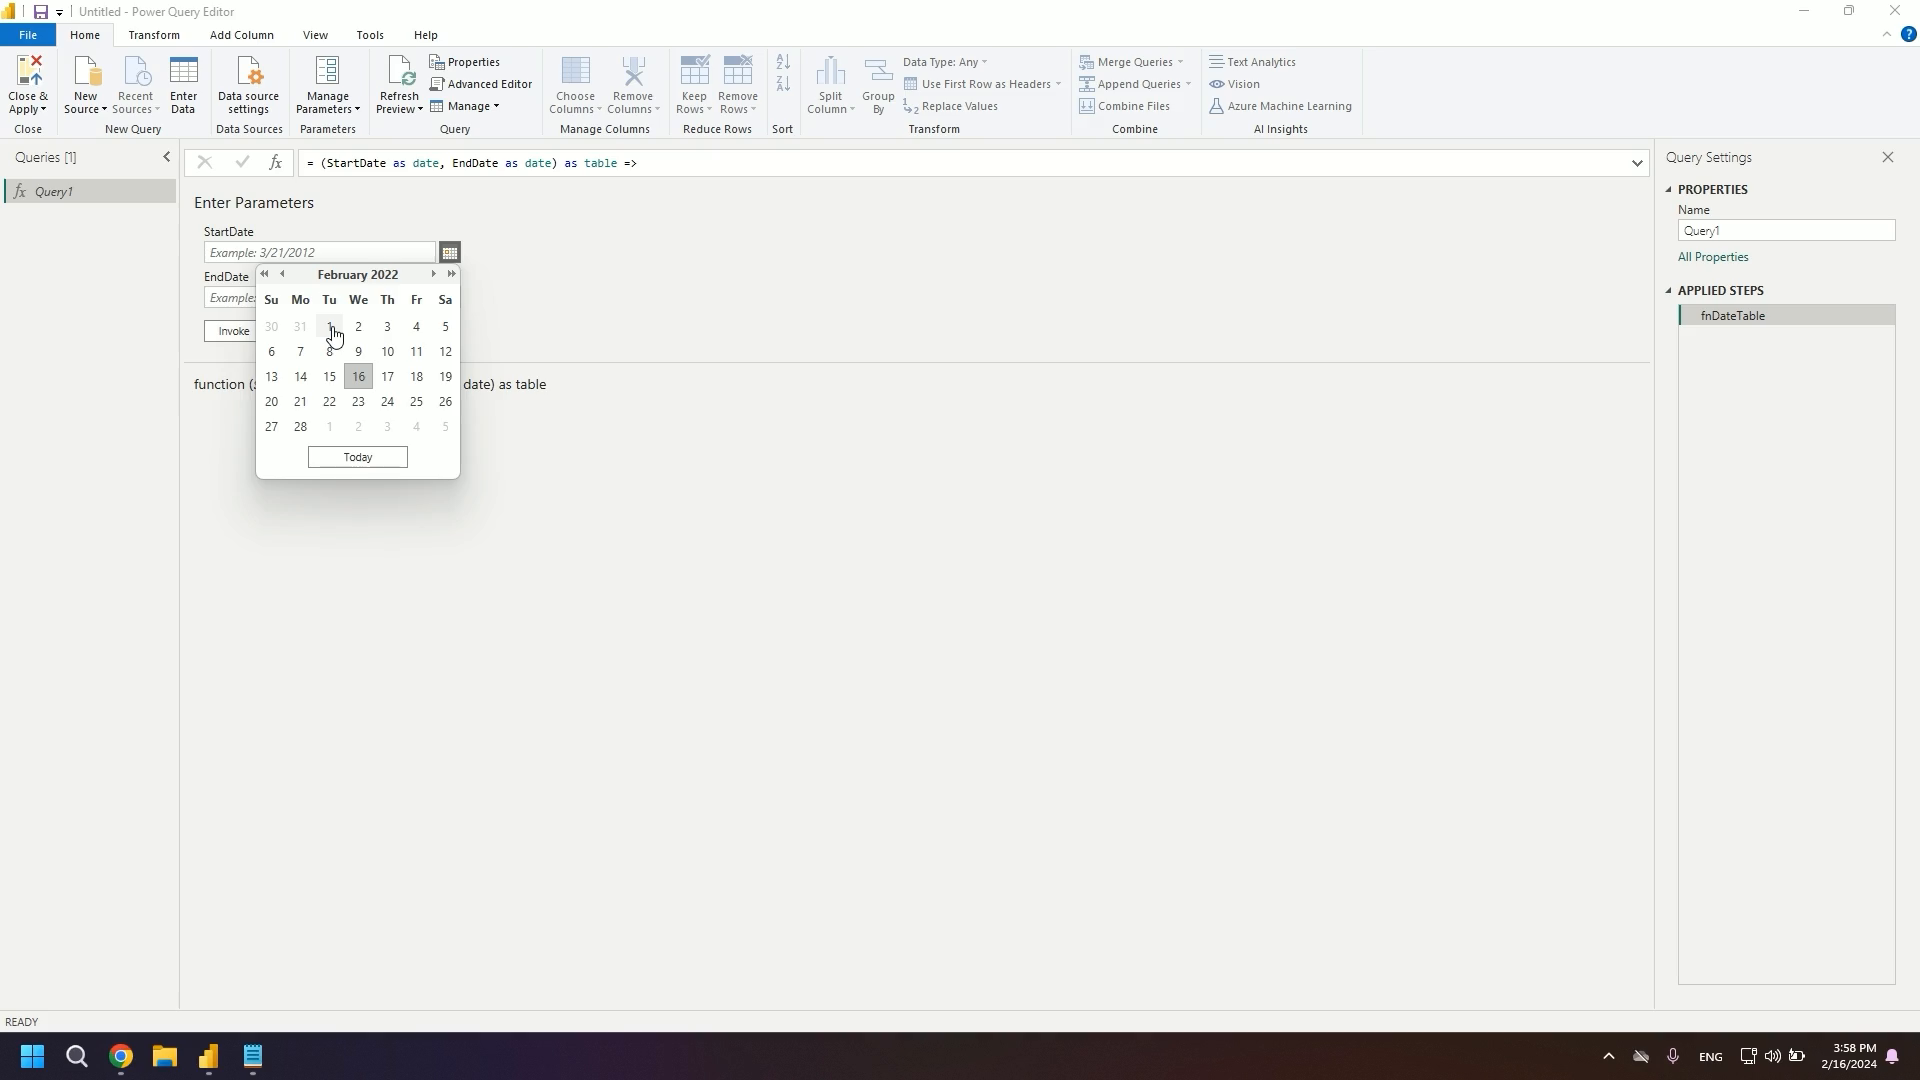
3. The Date Range
Choose a "Start Date" and an "End Date" that defines the chronology your table will embrace.
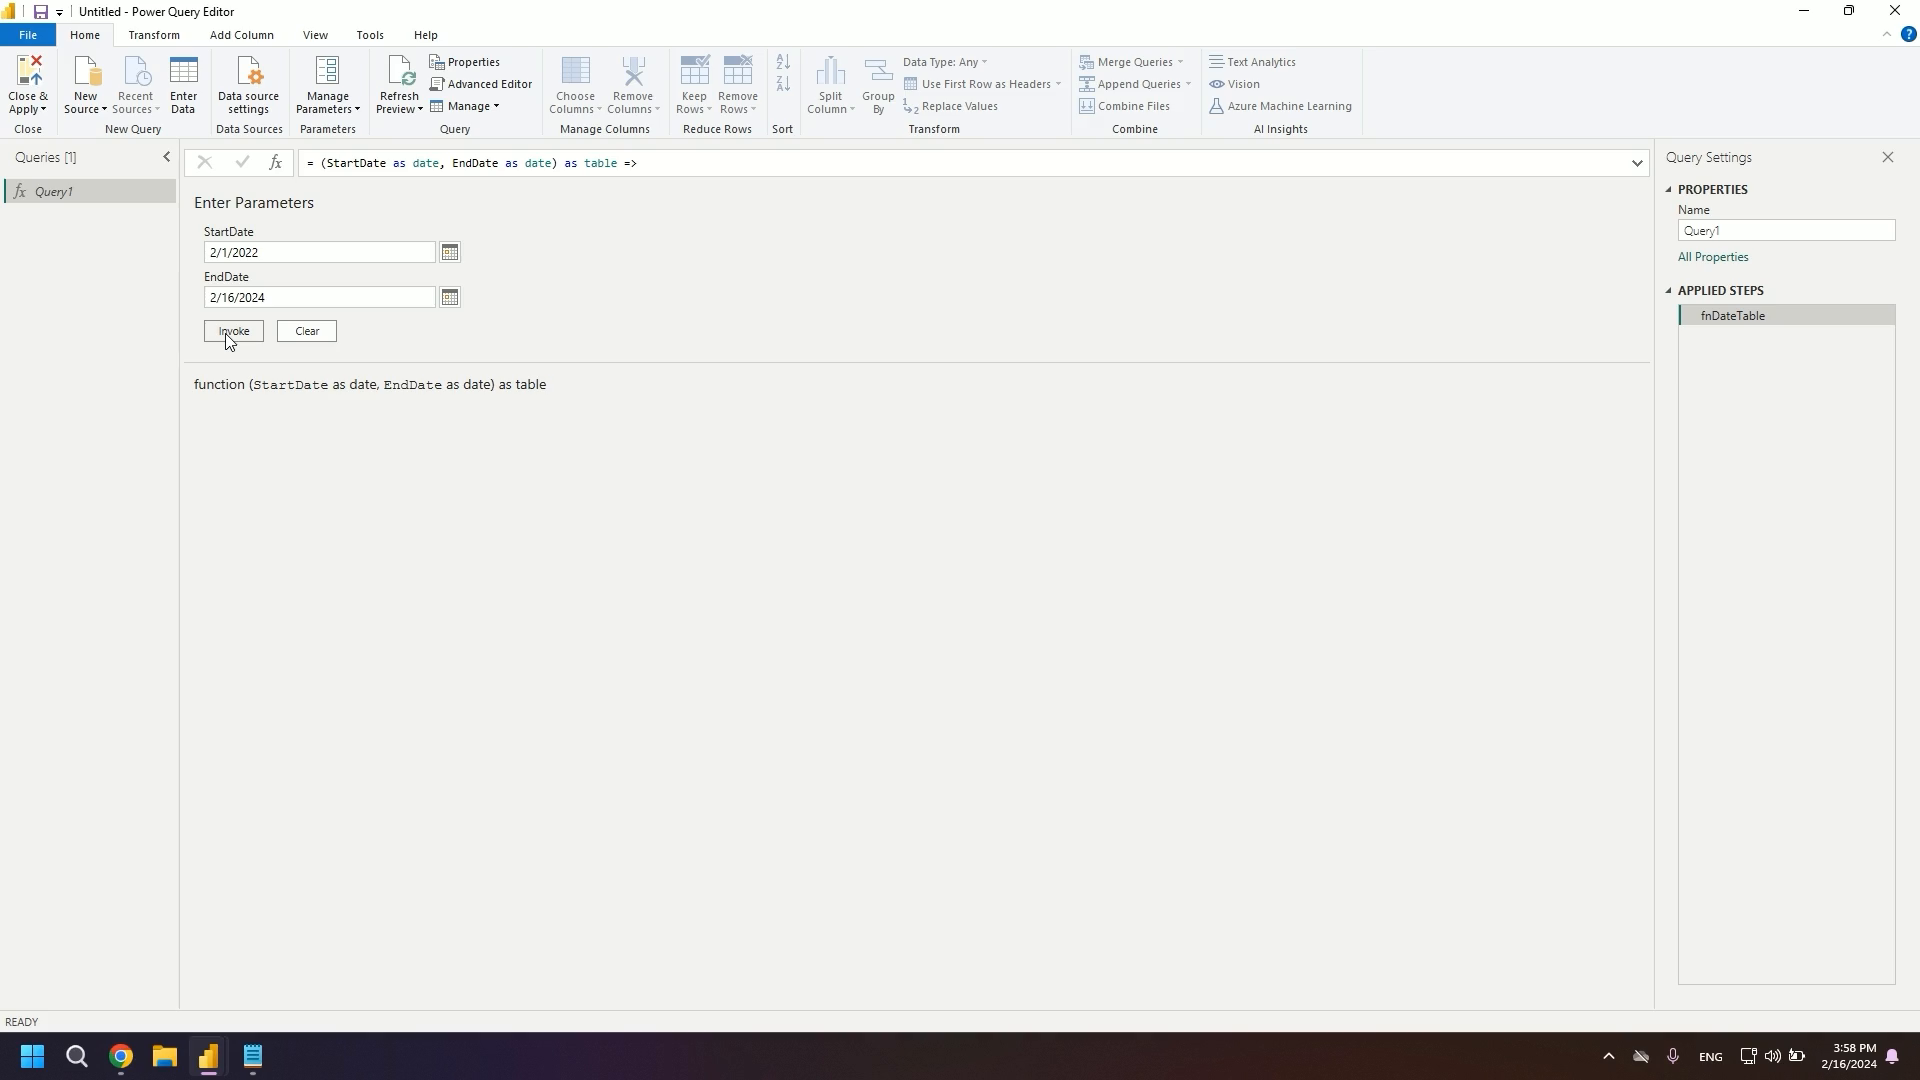
4. The Finishing Touches
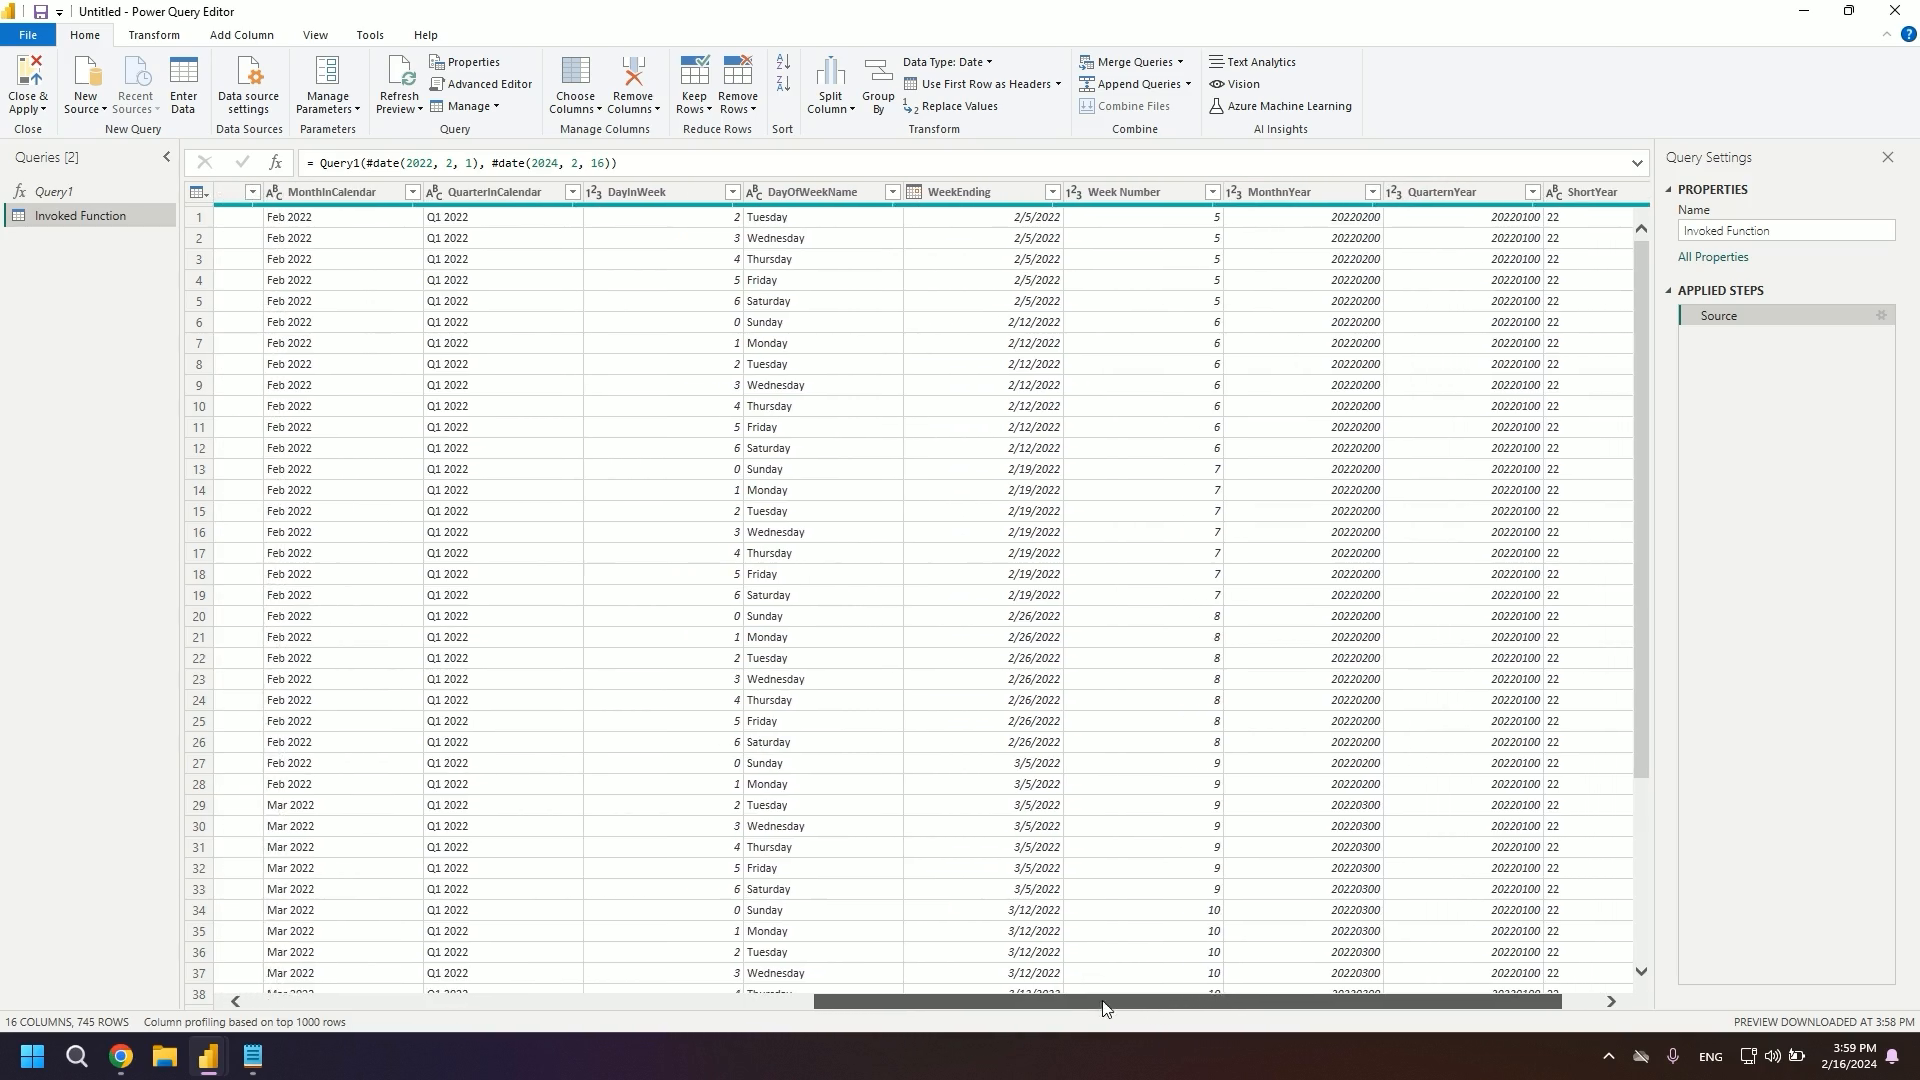
Your table now exists, but it might contain more than you require. Take this moment to trim the excess, leaving behind only the necessary columns and data that serve your purpose.
And there you have it a beautiful, bespoke date table that aligns perfectly with the needs of your project in Power BI.
Finally
As you can see, the process of creating a date table using the M language isn't shrouded in complexity. It's a methodical path that, when followed, results in a functional and customized addition to your Power BI endeavors.
Remember that the focus here is on streamlining your workflow, on being efficient while still wielding the power of customization. By taking the control into your own hands and following these steps, you ensure that the data you work with is not just handled aptly but catered specifically to the insights you wish to extract.
In crafting this post, we have mirrored the tone of our instructional material with a touch of casualness, ensuring our discourse remains accessible.
Till next time, happy analyzing!

The Tool Builders
Ready to collaborate, learn, and create alongside passionate tool builders? Join today and be part of a community dedicated to excellence.
Join the community
